Biofouling Record Book

Biofouling Management Implementation (Internal and External Niches) Description
Add Planned Record
Please Note: Management Action must be created in order to a Add Planned Record to the Biofouling Record Book.
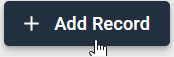
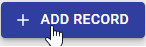
Step 1: Click Add Record.
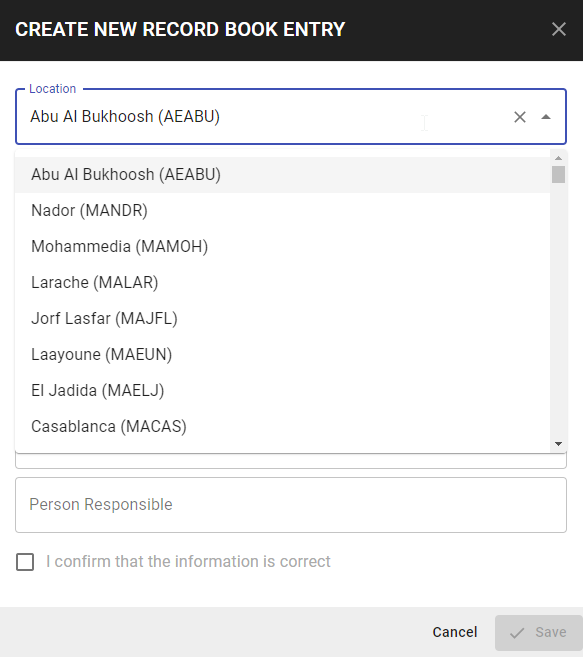
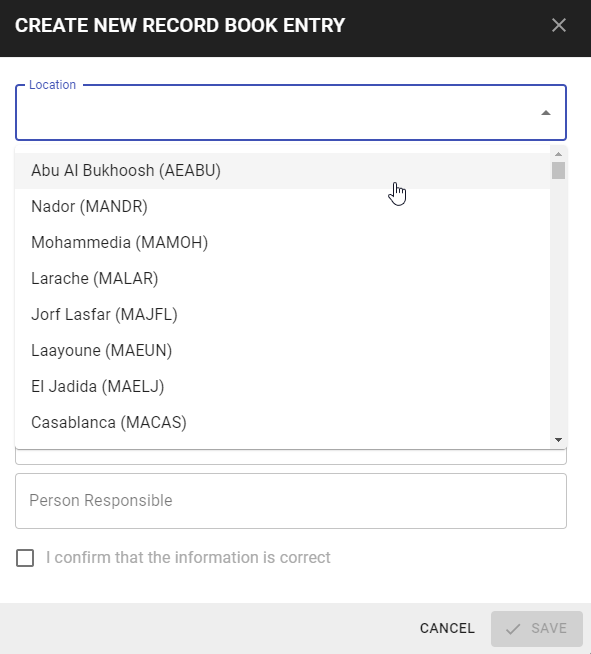
Step 3: Enter Port Location of the Vessel by Port Name or Port Code.
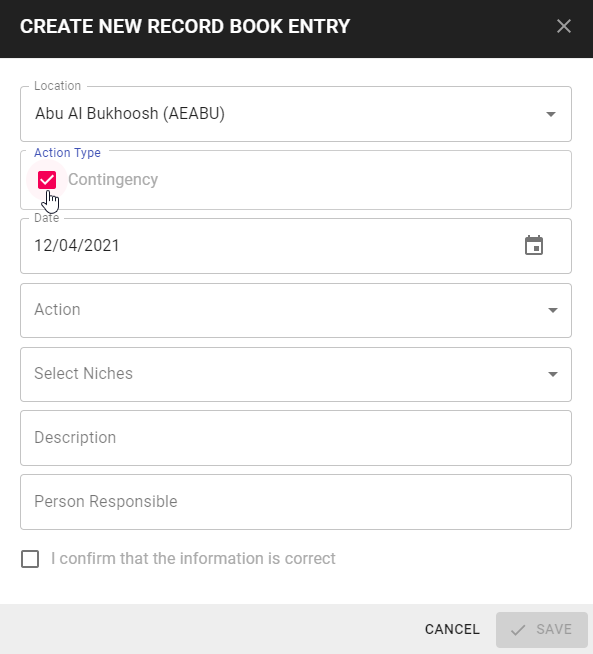
Step 4: Select if this Record Book Entry is a Contingency Action. If it is a Planned Action, do not check this box.
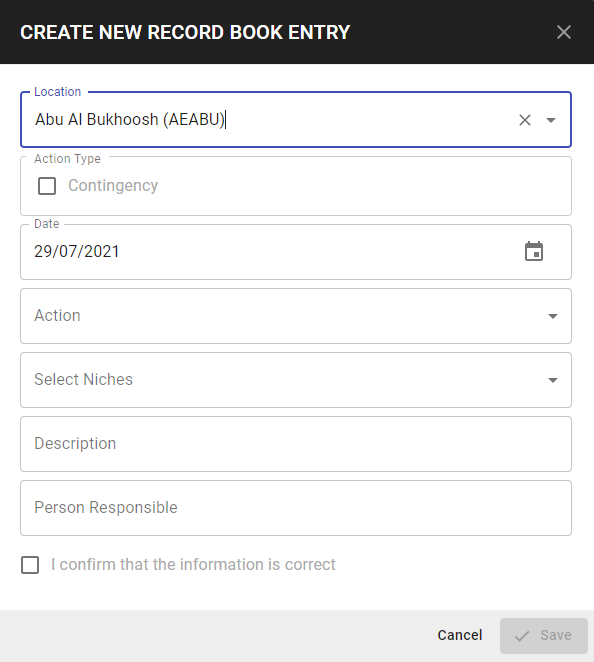
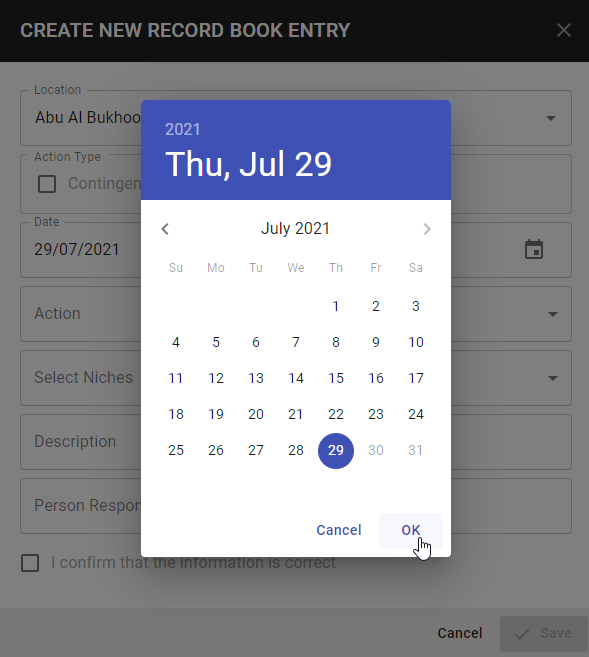
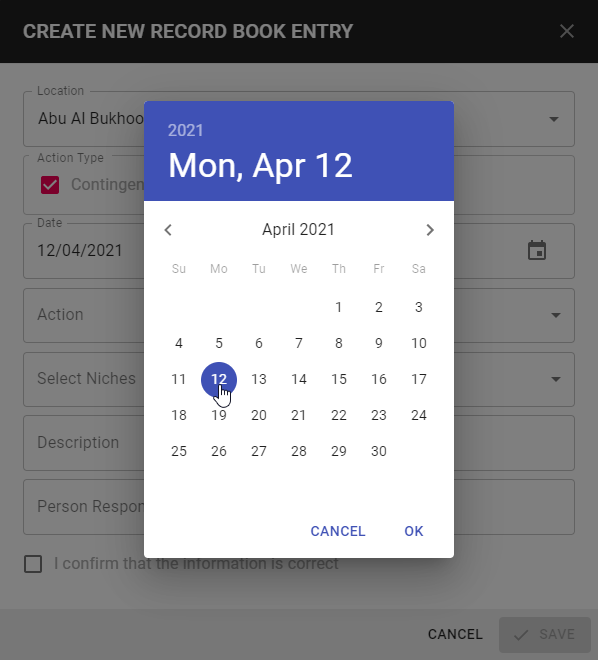
Step 4: Select the date using the Calendar function.
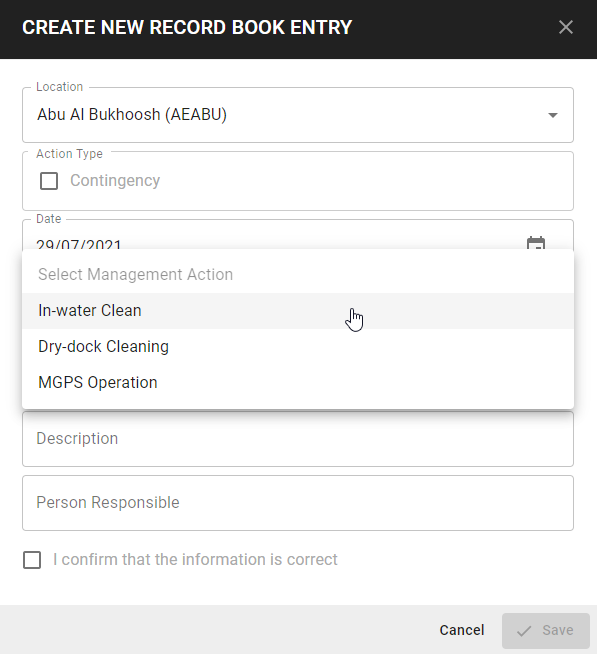
Step 5: Select Management Action.
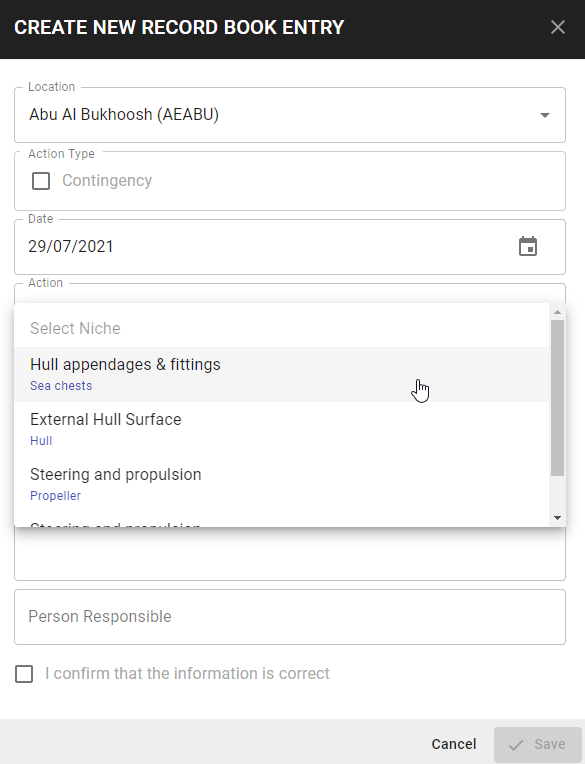
Step 6: Select Niche - multiple Niches can/ should be selected.
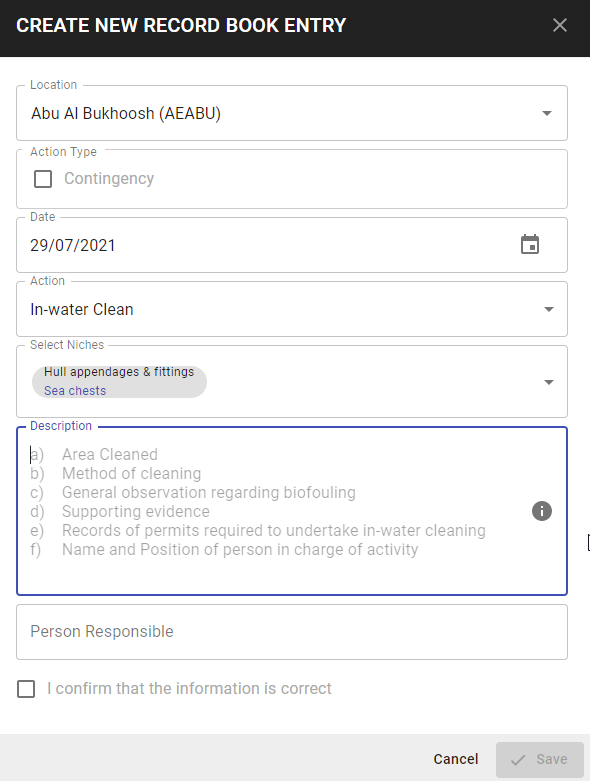
Step 7: Enter Description.
Step 8: Enter Person Responsible.
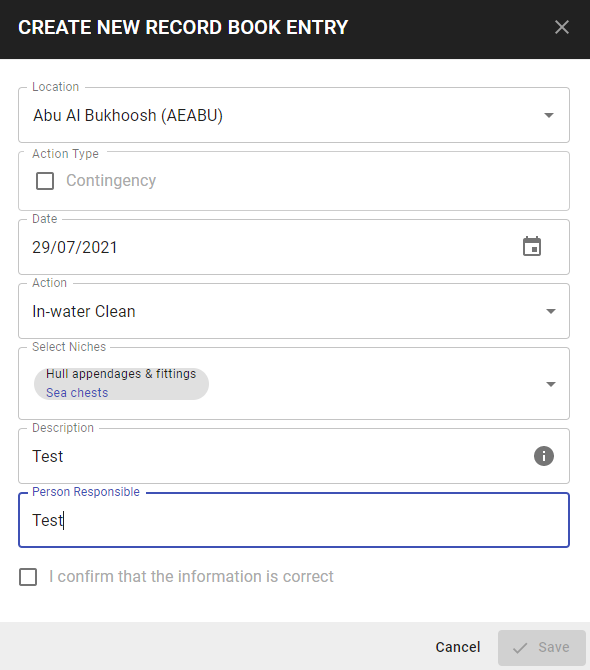
Step 9: Click to Confirm that the information is correct. This is a required field.
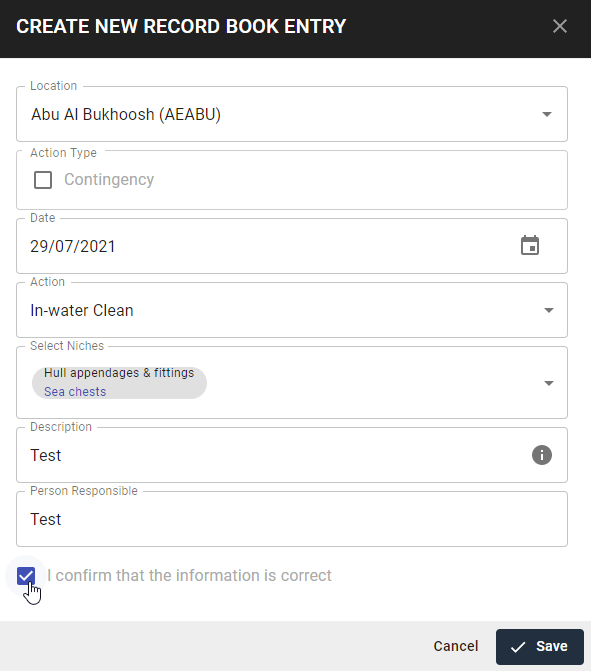
Step 10: Click Save. The Record will now appear in the list.

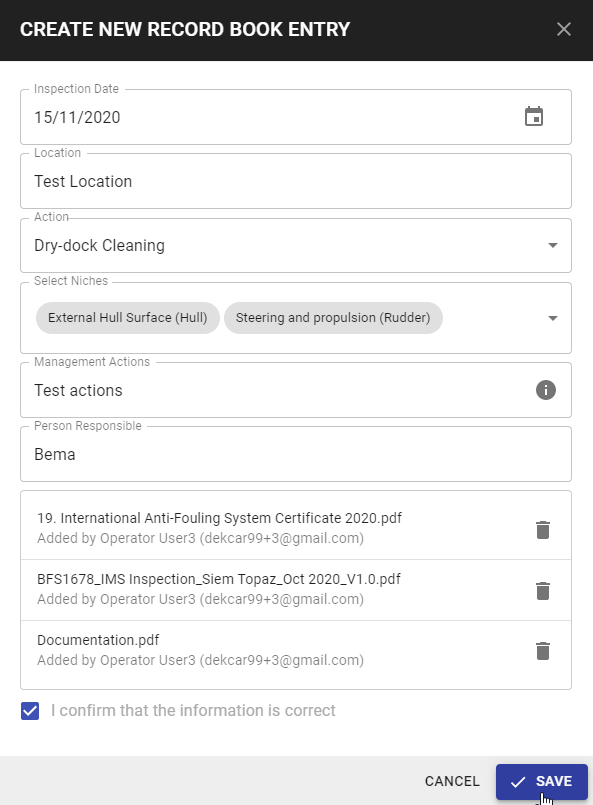
Step 11: Documentation must be uploaded to satisfy risk criteria.

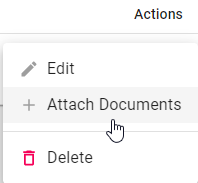
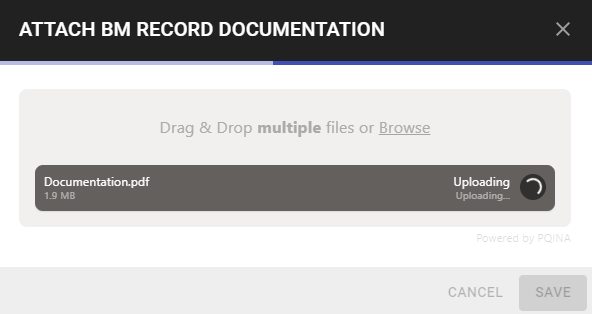
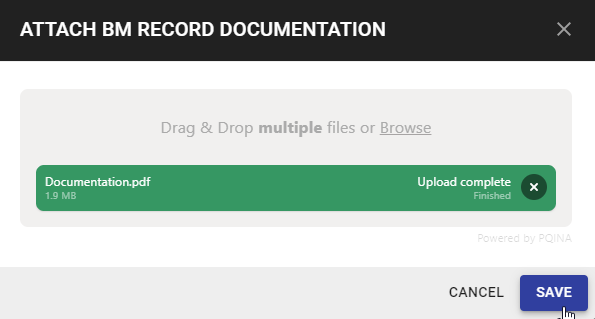
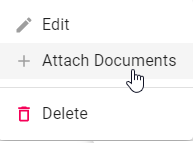
Upload Supporting Evidence. Click on the required Record and Click Actions > Attach Documents or click Add under Documentation. Once successfully uploaded, Click Save.
To Drag and drop file/s, left click on the file and drag, drop the file/s.
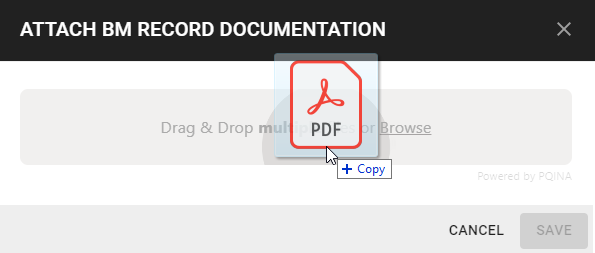
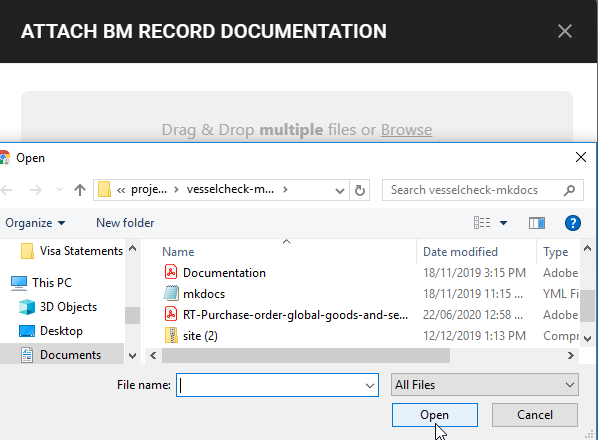
To upload from Brows files. Click to select required file/s. Multiple files can be selected. Click Open.

Add Contingency Record
To add a Contingency Record, the user does not have to add the Management Action to the Management Planning Section. Contingency Record actions are based on existing niches and the user can add adhoc actions as required.
Step 1: Click Add Record.
Step 2: Enter Port Location of the Vessel.
Step 3: Choose Action Type - Contingency.
Step 4: Select Date of activity using the Calendar.
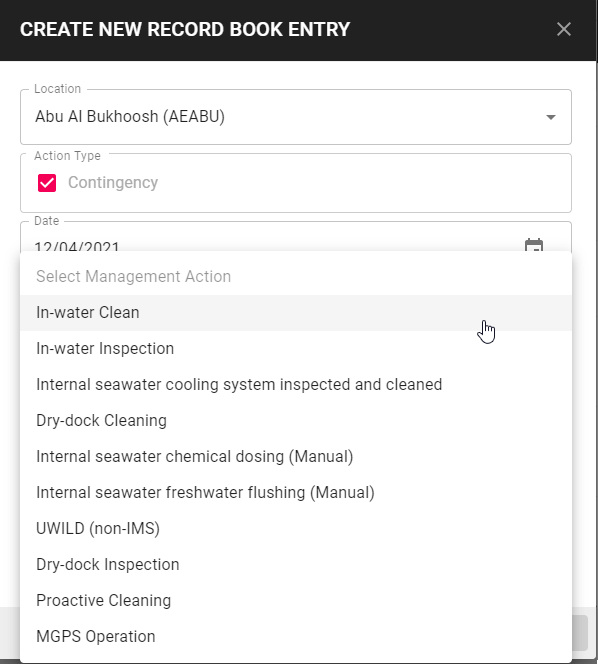
Step 5: Select the Action based on the Contingency actions listed.
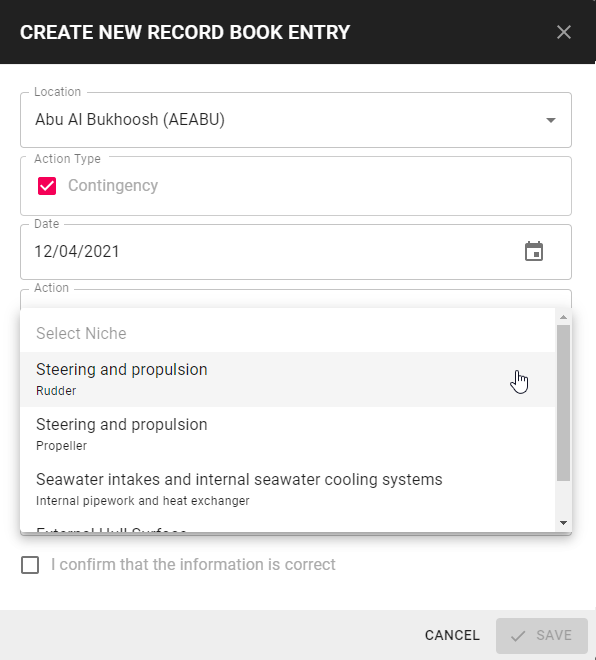
Step 6: Select Niches.
Step 7: Enter Description as required.
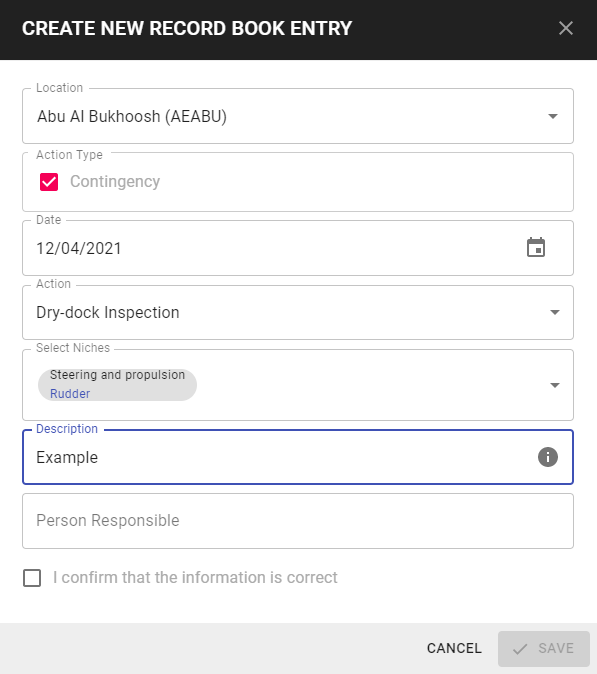
Step 8: Enter Person Responsible.
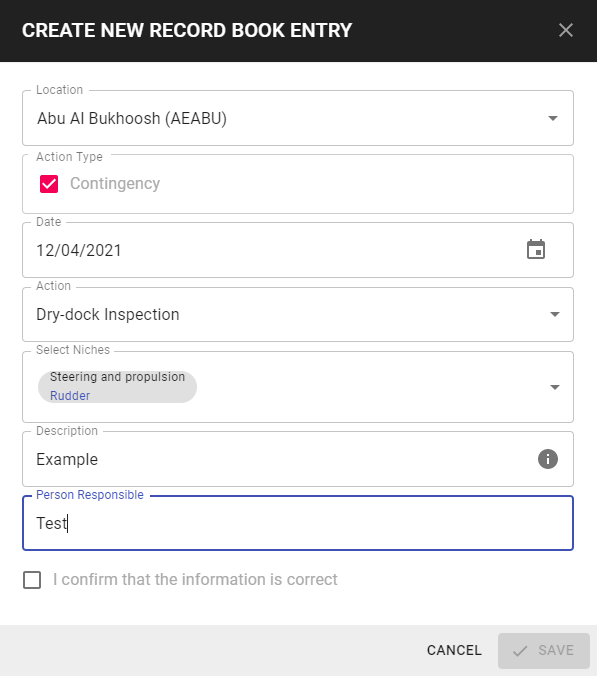
Step 9: Click to Confirm that the information is correct. This is a required field.
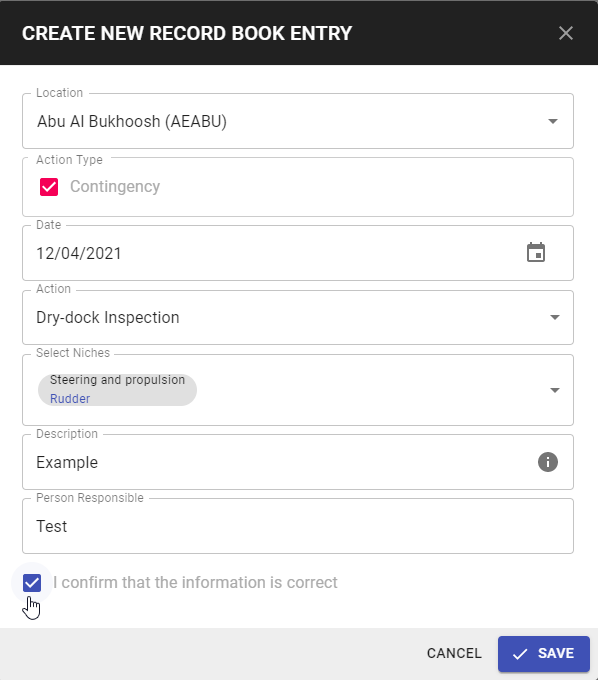
Step 10: Click Save. The Record will now appear in the list.


Attach Documents
Click on the required Record and Click Actions > Attach Documents or click Add under Documentation. Once successfully uploaded, Click Save.
To Drag and drop file/s, left click on the file and drag, drop the file/s.
To upload from Brows files. Click to select required file/s. Multiple files can be selected. Click Open.
Edit Record
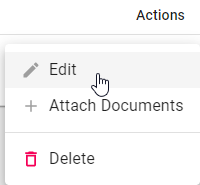
Step 1: Click Actions and Edit.
Step 2: Edit as required. Confirm the information is correct. Click Save.
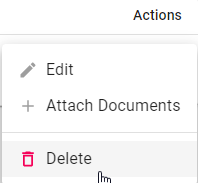
Delete Record
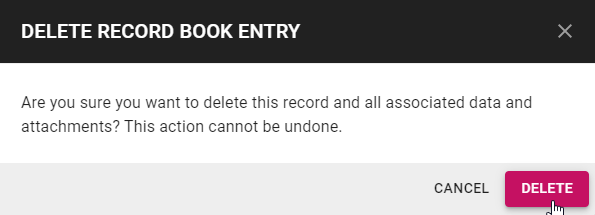
Step 1: Click Actions and Delete.
Step 2: A dialogue box will appear confirming the deletion of the record. Click Delete.
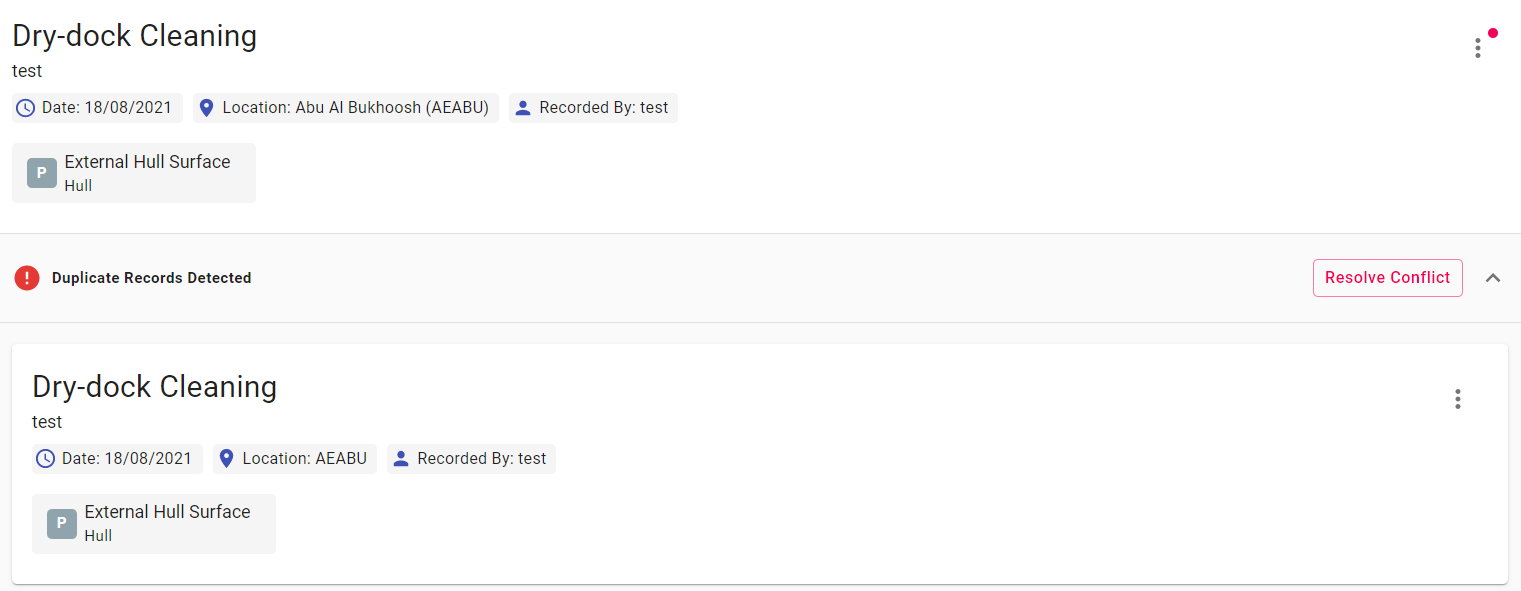
Duplicate Record
Duplicate Records are identified when a Record Book entry has more than one entry with the same Date and Action type.
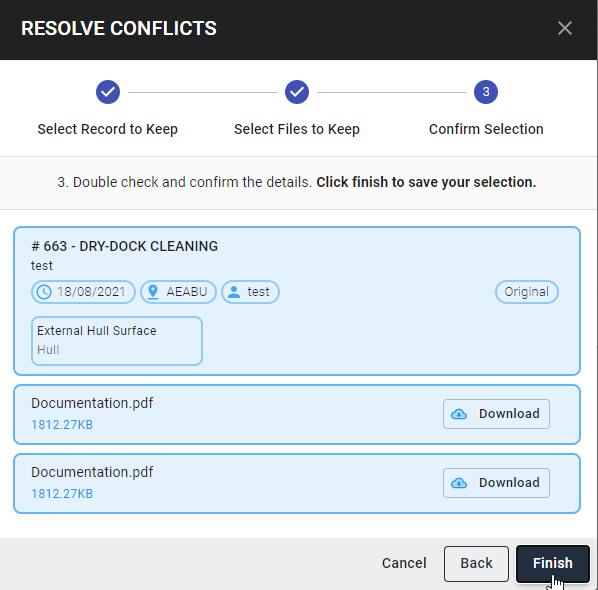
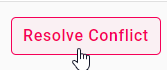
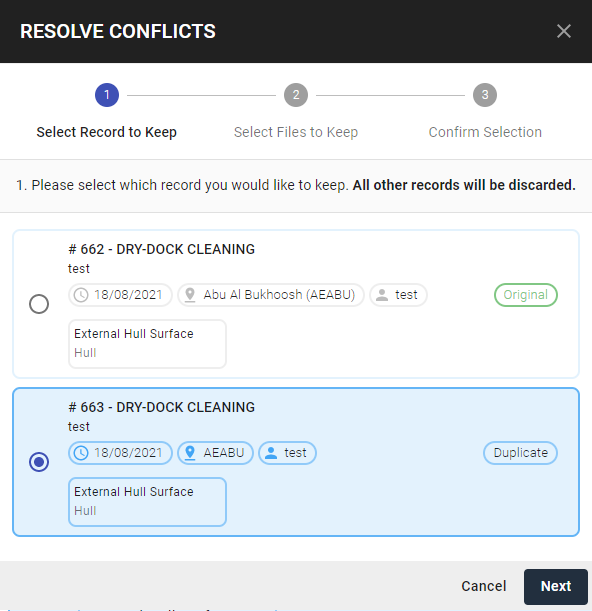
Resolve Conflict
Step 1: Click the Resolve Conflict button or Actions > Resolve Conflict.

Step 2: Select record to keep. Original and Duplicate records will be displayed. Click Next.
Step 3: Select File/s to keep. Click Next.

Step 4: Confirm Selection. Click Finish. The conflict is resolved and the record book entry will display the selected record.