Offline Record Book
Login to the Offline Record Book.
The offline record book allows a user to capture record book information when there is no internet connection. To utilise the offline record book, the user must login once with internet connection to download existing records.
The Cloud icon will confirm if you are connected to the internet.
White cloud indicates online connection

Red cloud indicates offline connection

Install Offline Record Book
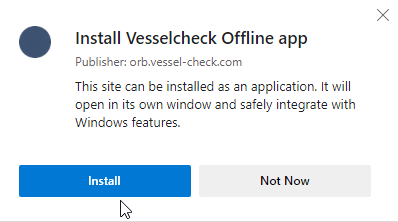
Click Install Offline.

The browser will prompt a dialogue box to appear, click Install.
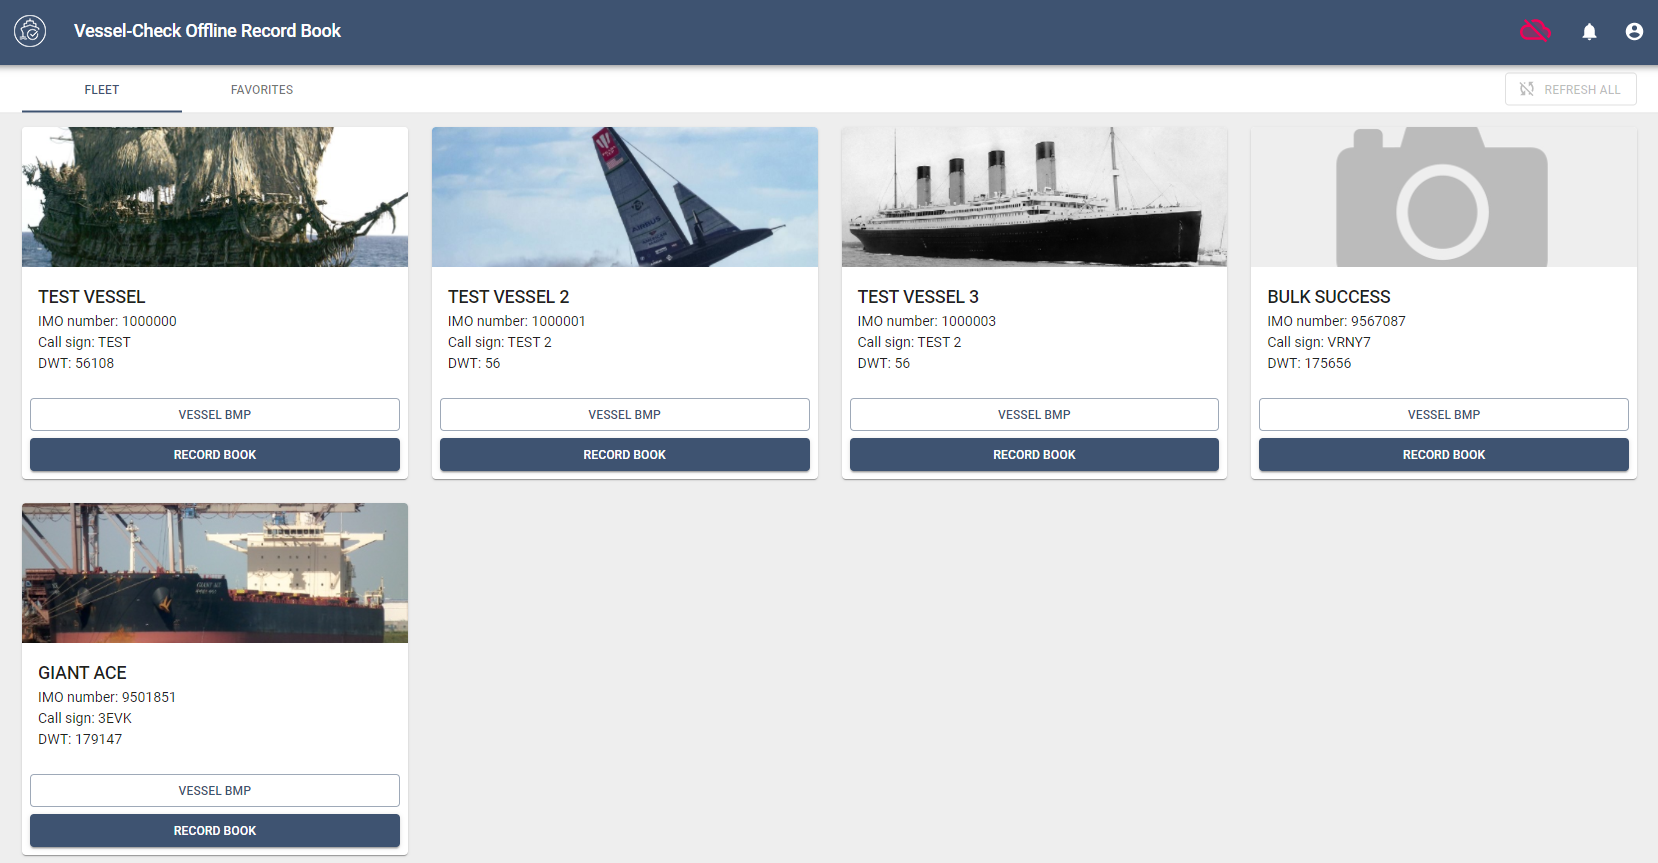
Fleet
Vessels in your fleet will be displayed as a tiled view.
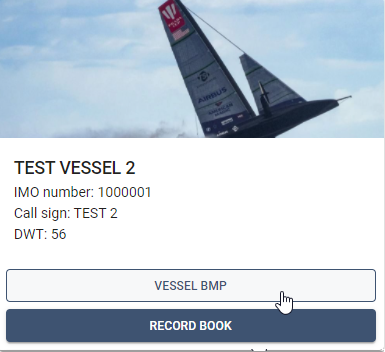
View Vessel BMP
A user will be able to access the BMP in a view only mode. Click Vessel BMP. The BMP will display in a new tab on your browser. The user is able to download or print the BMP.
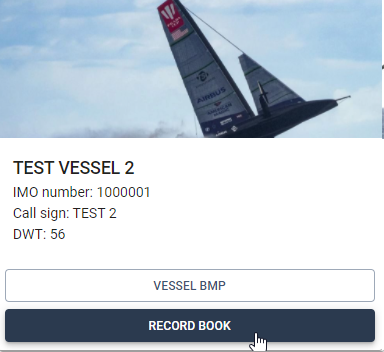
Record Book
Open the Record Book to utilise the complete functionality of the Offline Record Book application.
Biofouling Record Book
The Biofouling Record Book tab will display existing record book entries that have been synced with the online record book.
For each user, the biofouling record book will display the last sync time.
Biofouling record book entries will be listed as either a Contingency or Planned action. Using the following key.

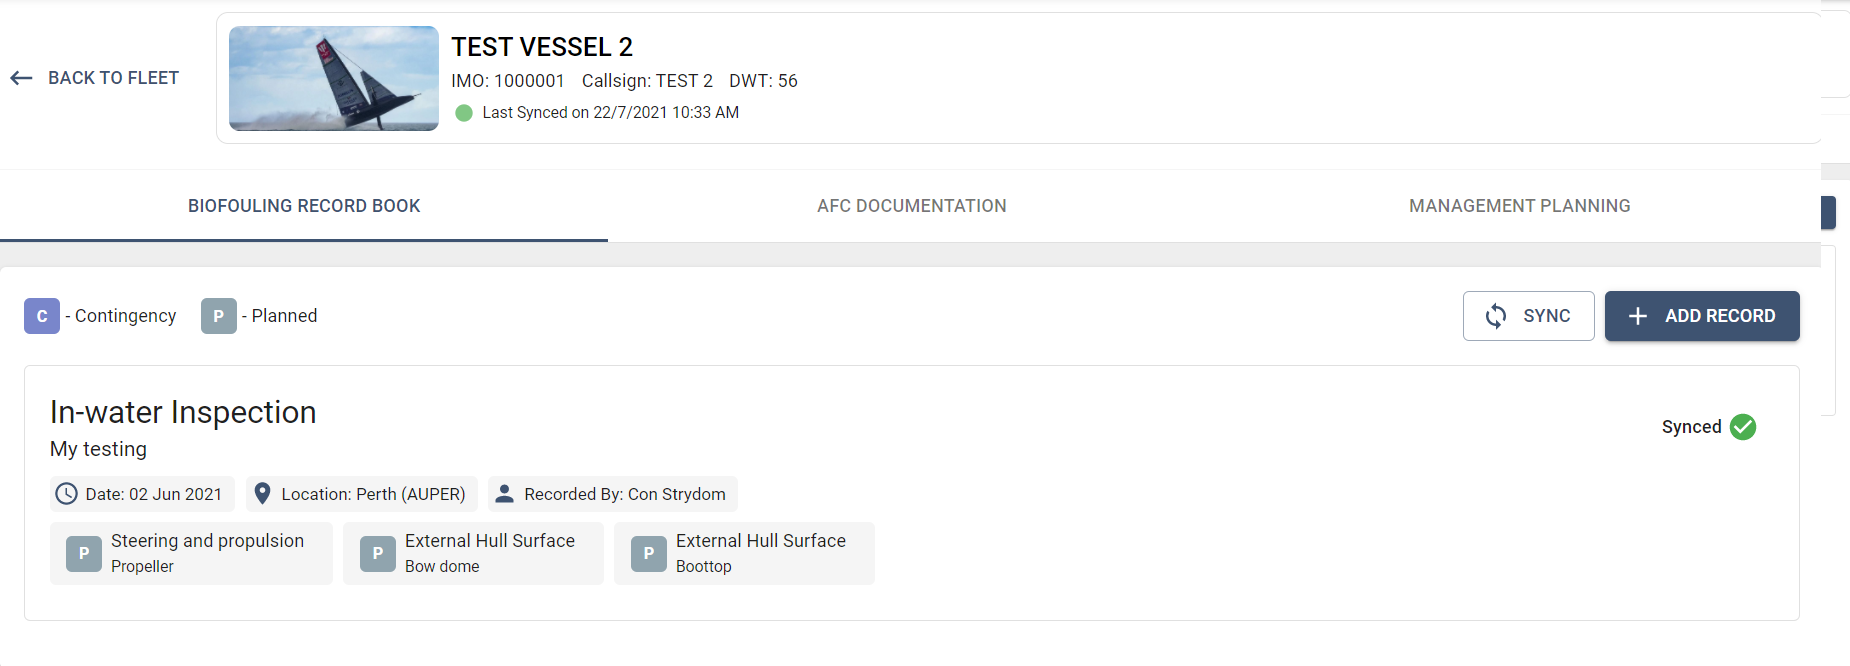
Existing Entries
Each existing record book entry is in a read only mode, the user is only able to view or download supporting attachments. The user is not able to edit or delete any existing record book entries.
To edit record book entries, please use the online portal.
Add Record
Step 1: Click Add Record

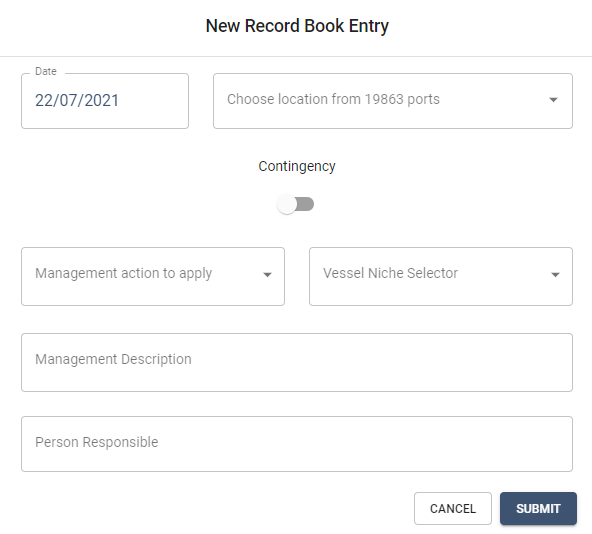
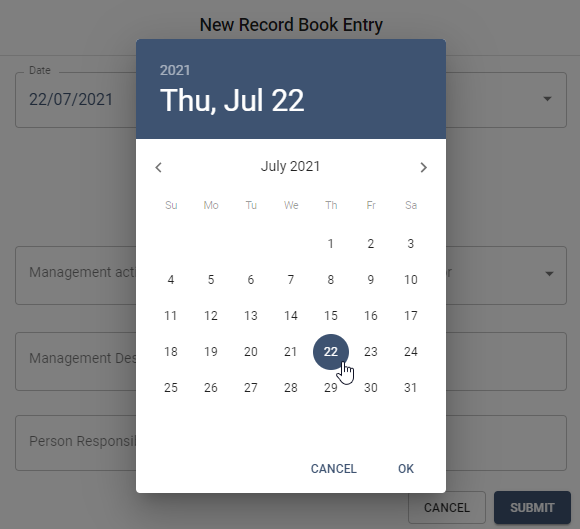
Step 2: Select the date using the Calendar function.
Step 3: Choose Port Location from list.
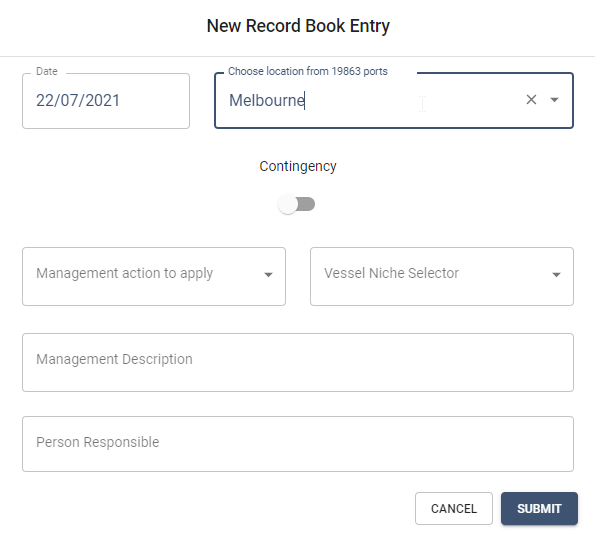
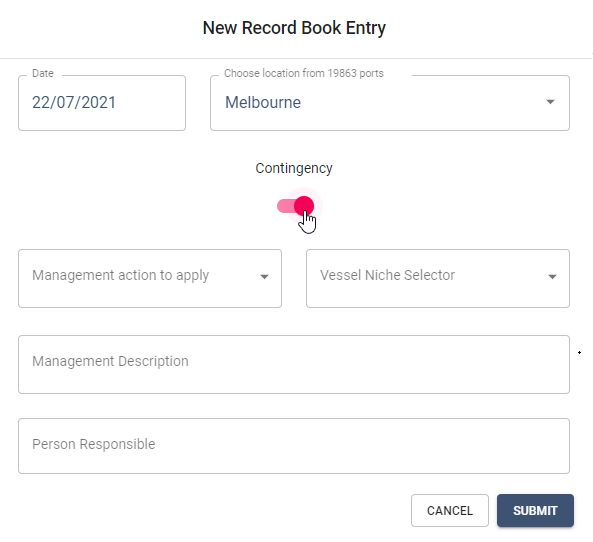
Step 4: Select if this is a Contingency Action. If an action is outside of any planned actions, it can be selected as a Contingency Action.
If this is a planned action, do not select.
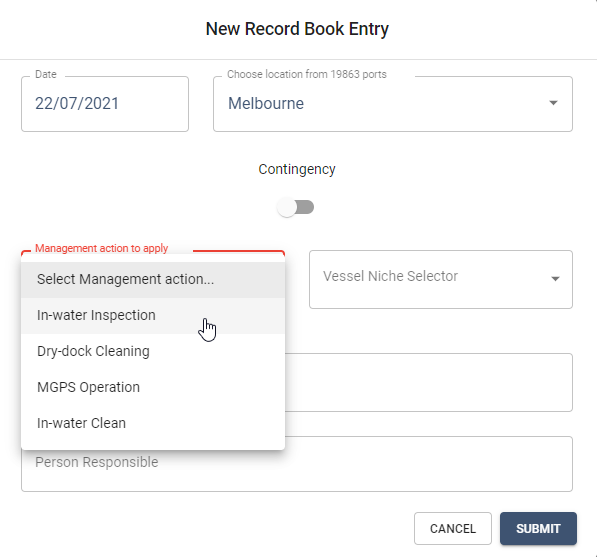
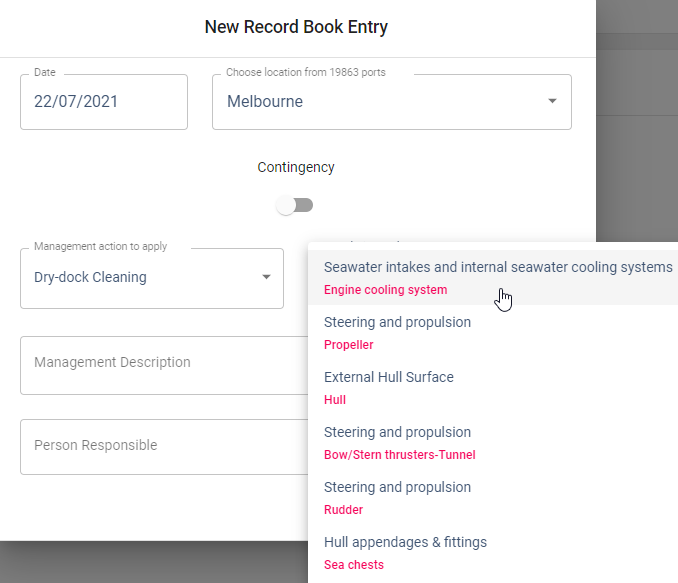
Step 5: Select Management Action to apply. To add new Management Actions to the vessel, the user must use the online record book only.
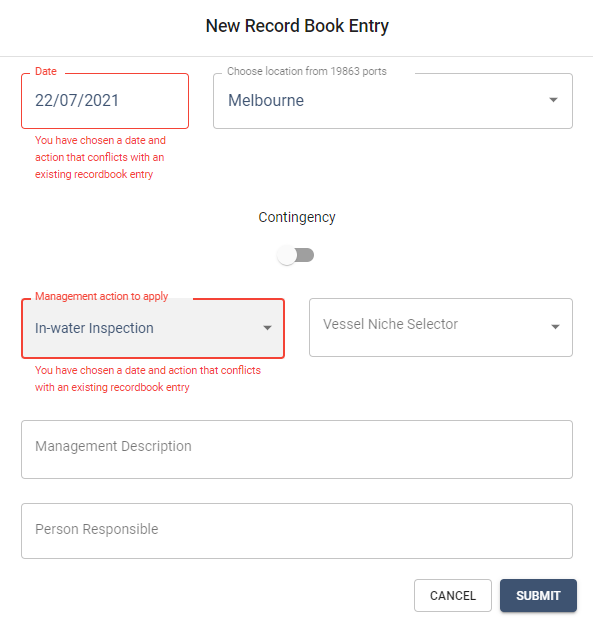
If a Planned or Contingency record has already been created with the same proposed date, red warning text will appear and confirm that an existing record book entry exists. You will not be able to submit the record book entry if it conflicts with an existing entry.
Step 6: Select relevant Niche/s. Multiple are able to be selected. Niche/s are relevant to the predefined Management Actions. If there are no Niche/s shown then it has already been defined as a planned action and you cannot add a secondary Contingency Action for this Niche.
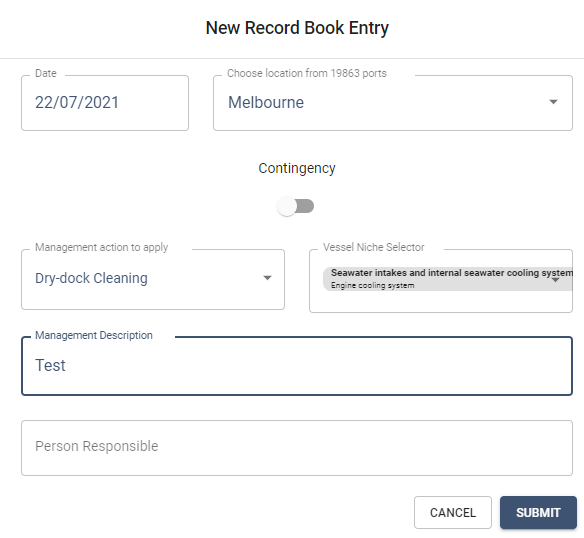
Step 7: Enter Management Description.
Step 8: Enter Person Responsible.
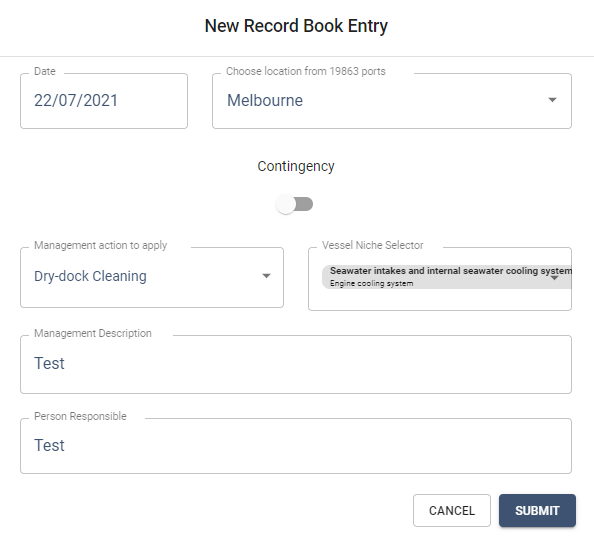
Step 9: Select the declaration of correct information.
Step 10: Submit.

The Offline Record Book entry will be displayed as grey.

Edit Record
The User is able to edit record book entries that are not yet synced. Once the record is synced, the record book entry can only be edited in the online portal.
Step 1: Click Edit on the relevant record book entry.

Step 2: Edit the entry as necessary and click Submit.
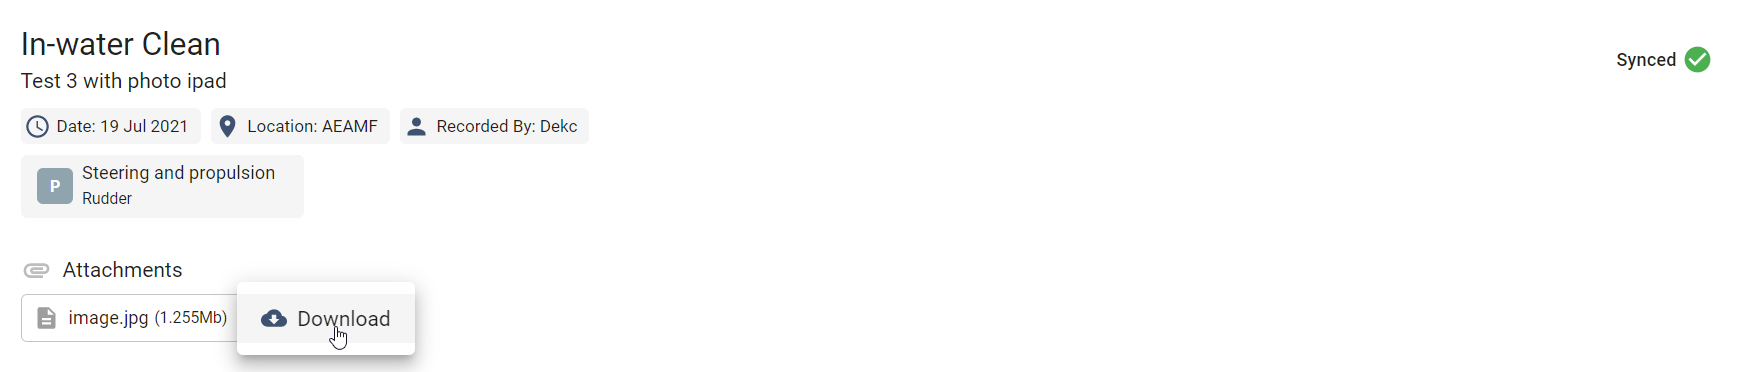
Attach Documents
Step 1: Click Attach on the relevant record book entry.

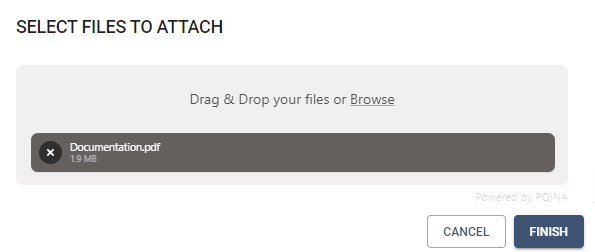
Step 2: Attach documentation by drag and drop or browse files. Multiple file/s are able to be attached.
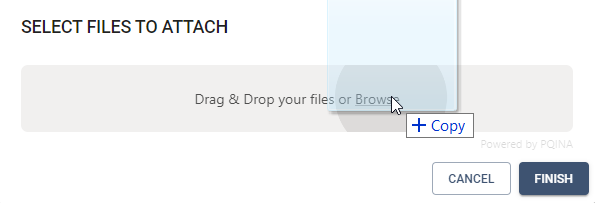
Step 3: The document will be listed in a grey box. Click Finish to attach.
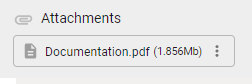
The attached document will appear under the relevant record book entry.
Sync
Syncing of record book entries is only possible with an internet connection. Ensure your cloud icon is white and ticked before attempting to sync records.
Each record book entry must be synced for other users to view these entries. Please check your internet connection, as if connection is lost during the syncing process you may need to re-sync entries.
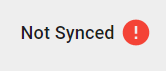
Record book entries that are not synced will display a red icon.
Record book entries that are successfully synced will display a green tick icon.

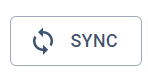
To Sync all record book entries, click the top Sync icon. All entries that are not yet synced will sync at once.
Sync Offline Record Book Entry
Step 1: Click Sync.

Step 2: The record book entry will change from Not Synced to Pending.

Step 3: Once the record book entry is successfully synced a green tick will be displayed. If changes are not immediately displayed, click refresh all.

Duplicate Record
Duplicate Records are identified when a Record Book entry has more than one entry with the same Date and Action type. Duplicate records can only be resolved in the online main application.
To Resolve Conflicts between Duplicate Records, please refer to the Biofouling Record Book.
Delete Record
The User is able to delete record book entries that are not yet synced. Once the record is synced, the record book entry can only be deleted in the online portal.
Step 1: Click Delete on the relevant record book entry.

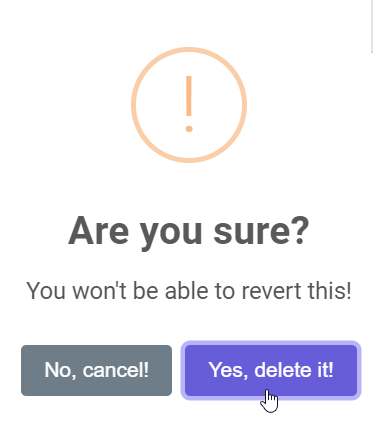
Step 2: A dialogue box will appear confirming the deletion of the record book entry. Click Yes, Delete it.
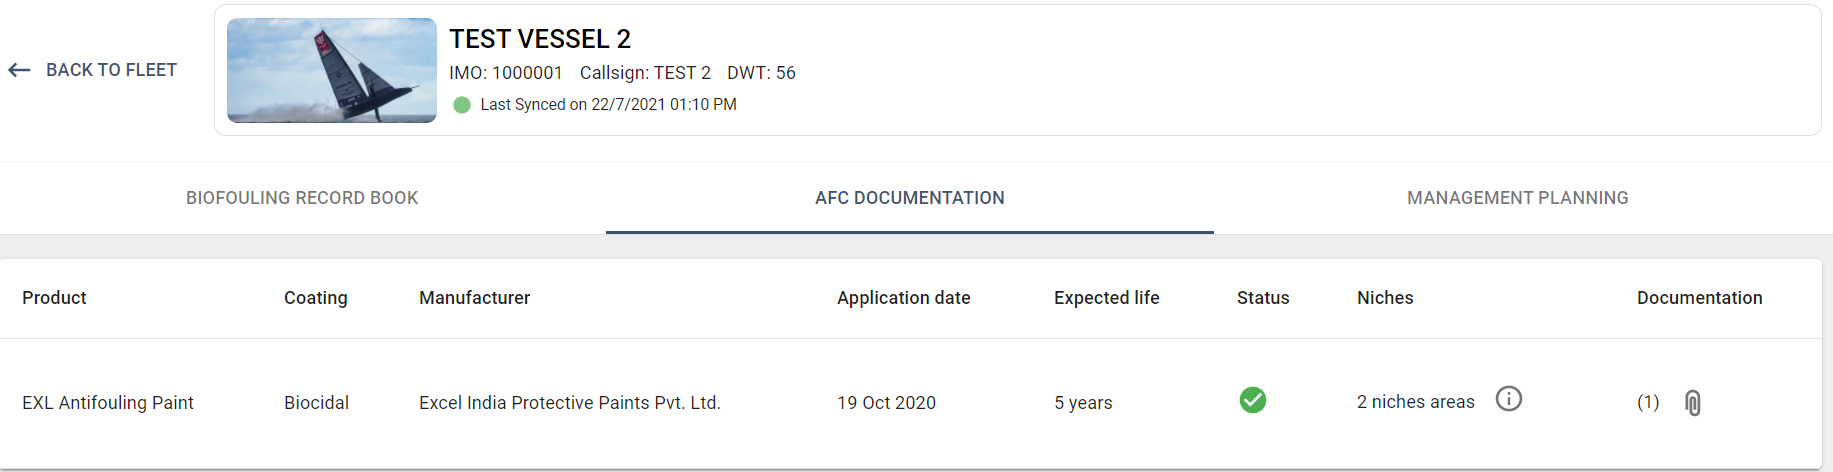
AFC Documentation
The AFC documentation tab is available in a read only format.
Users can click to view Niches and click to download documentation.
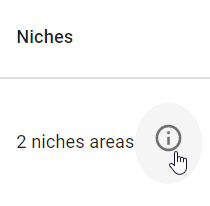
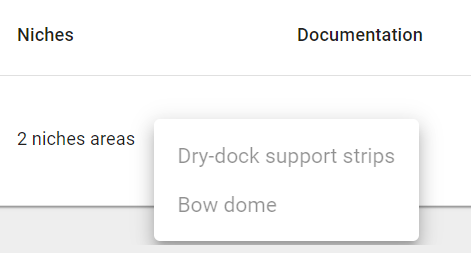
To View Niche areas, click on the i icon. The Niche area's will be displayed.
To View and Download Documentation, click on the paperclip icon. The document will open in a new tab. Download or print as required.
Management Planning
The Management planning tab is available in a read only format. Click on the arrow to expand management actions for each Niche Area.
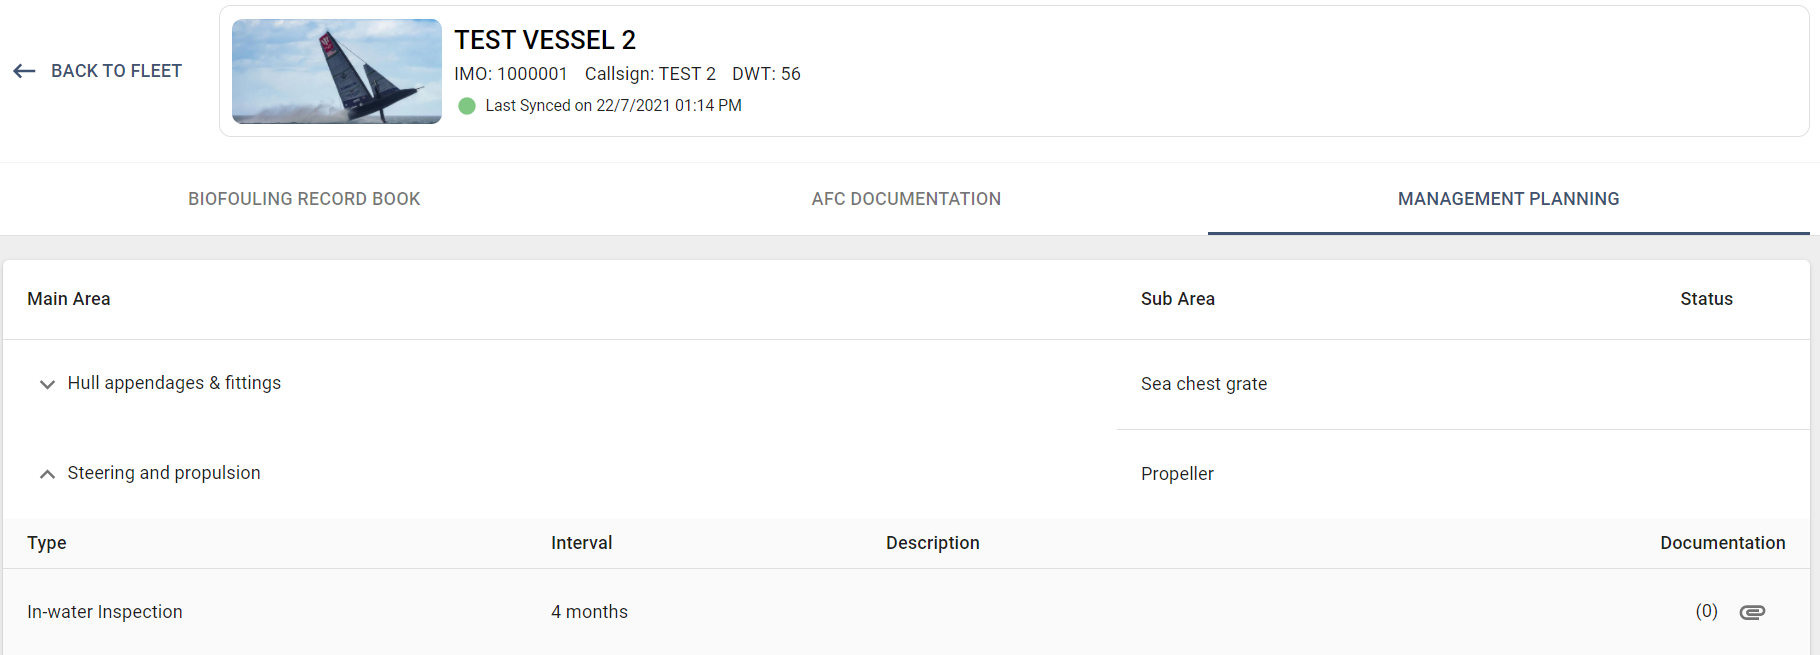
To View and Download Documentation, click on the paperclip icon. The document will open in a new tab. Download or print as required.